Podiatrists
Sterilising Podiatry Instruments: Autoclave 134 °C — Complete Guide
How to sterilise podiatry instruments: RKI-compliant workflow for autoclave 134 °C — cleaning, disinfection, packaging and service life maintenance for professional podiatry.
June 17, 2026
The reprocessing of podiatric instruments is not merely a matter of hygiene — it is a statutory requirement and directly affects the service life of high-quality instruments. Incorrect cleaning, incorrect packaging, or use of the wrong autoclave programme risks both patient safety and premature equipment failure. This guide describes the complete RKI-compliant reprocessing workflow for a podiatric practice.
Legal Framework: What Applies in Germany?
For approved podiatric practices (therapeutic service providers under § 124 SGB V):
- RKI Recommendation “Requirements for Hygiene in the Reprocessing of Medical Devices” (current edition): Instruments with patient contact are medical devices in a risk class — they must be sterilized, not merely disinfected.
- MPBetreibV (Medical Devices Operator Ordinance): requires validation of the reprocessing process and documentation.
- TRBA 250: Biological agents ordinance — protects practice staff during reprocessing.
In practice, this means: wiping disinfection alone is insufficient. Instruments that come into direct contact with skin or nails (nail nippers, burrs, podiatry probes, onychoorthosis pliers) must go through the autoclave.
Step 1: Pre-Cleaning Immediately After Treatment
Immediately after each treatment: blood, callus material, and biofilm must be removed before disinfection, because disinfectants cannot fully penetrate organic matter.
Procedure:
- Place instruments immediately in an enzymatic solution (soaking solution containing proteases) — do not allow to dry, as dried contaminants are very difficult to remove.
- Soaking time 15–30 minutes (follow manufacturer’s instructions).
- Brushing or ultrasonic cleaner: joints, cutting edges, and cavities are worked with an instrument brush or in an ultrasonic bath (minimum 3 minutes, 40–50 kHz).
- Rinse with distilled water.
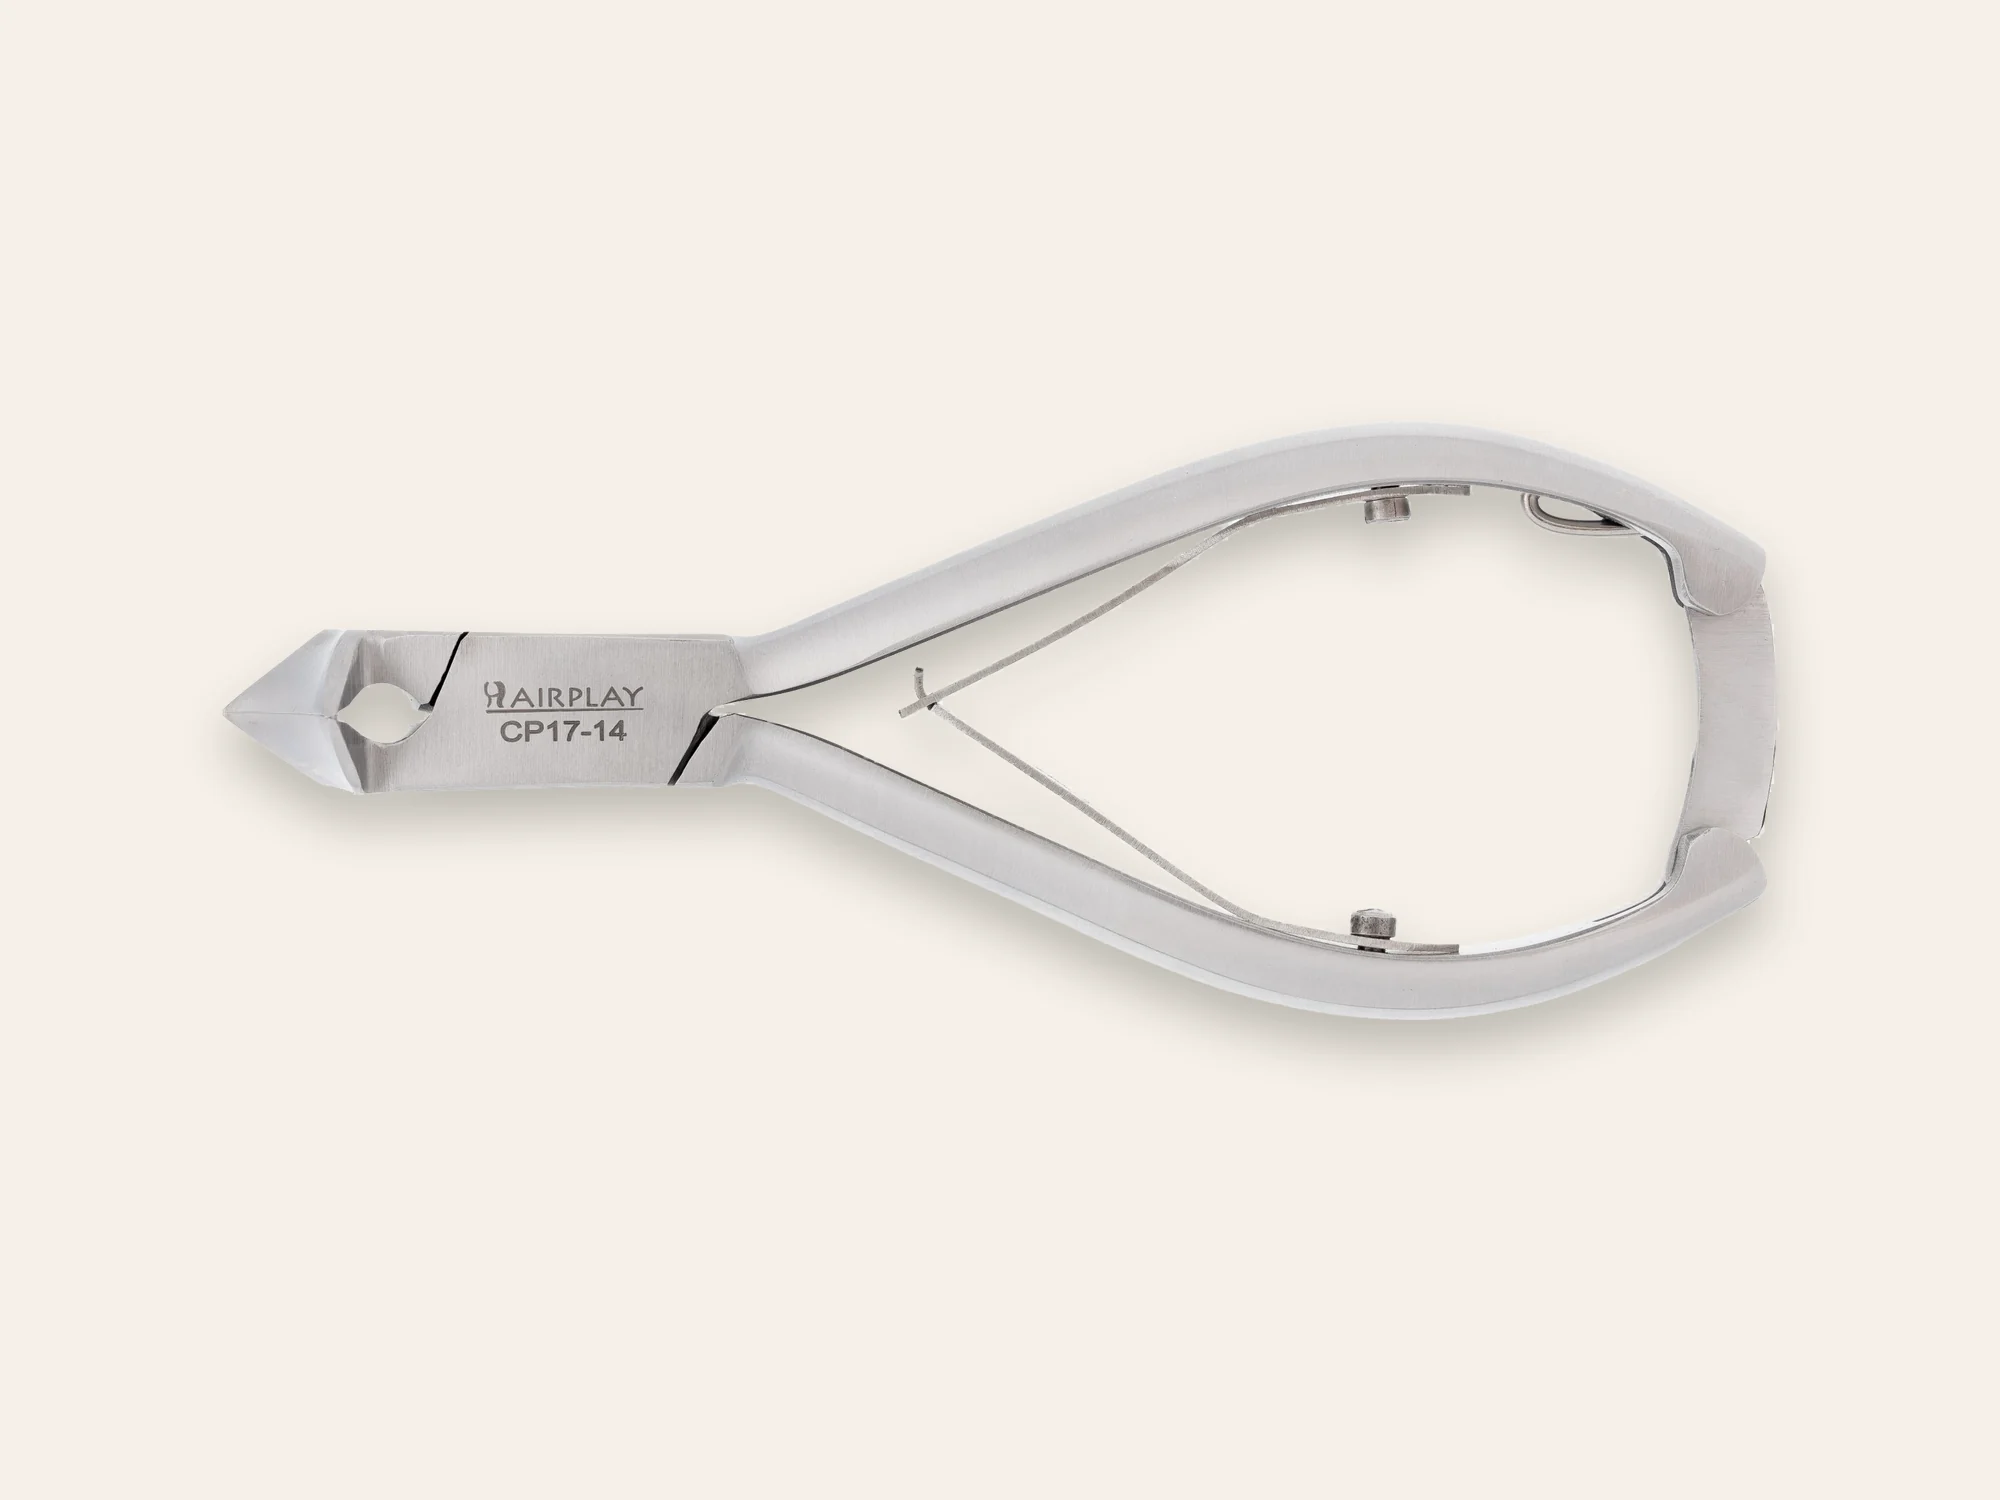
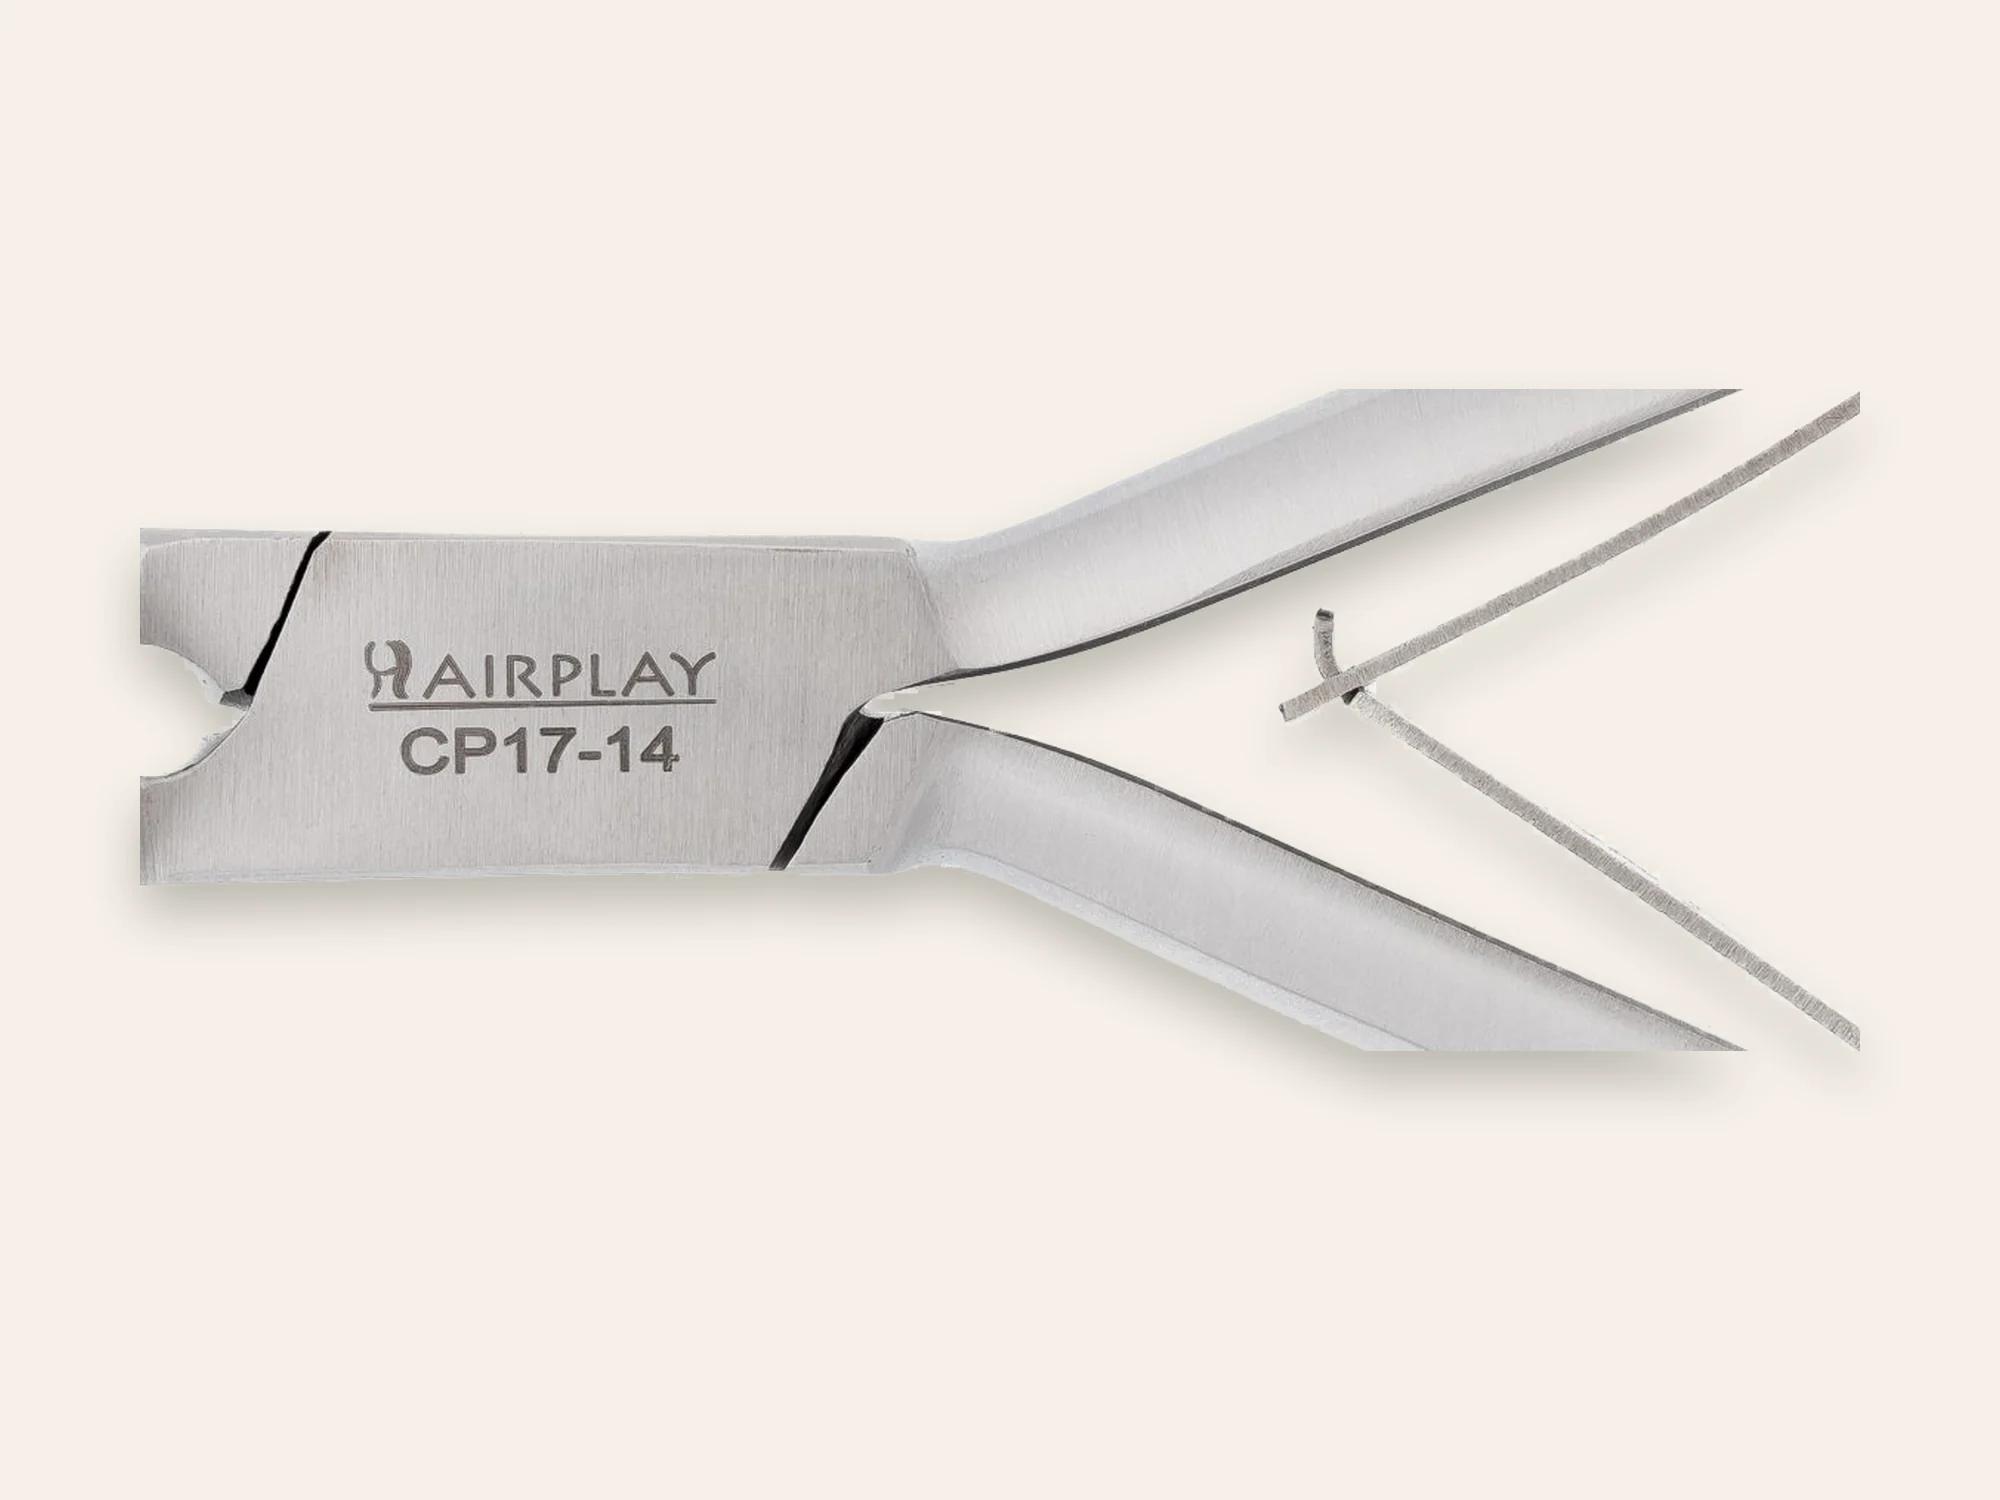
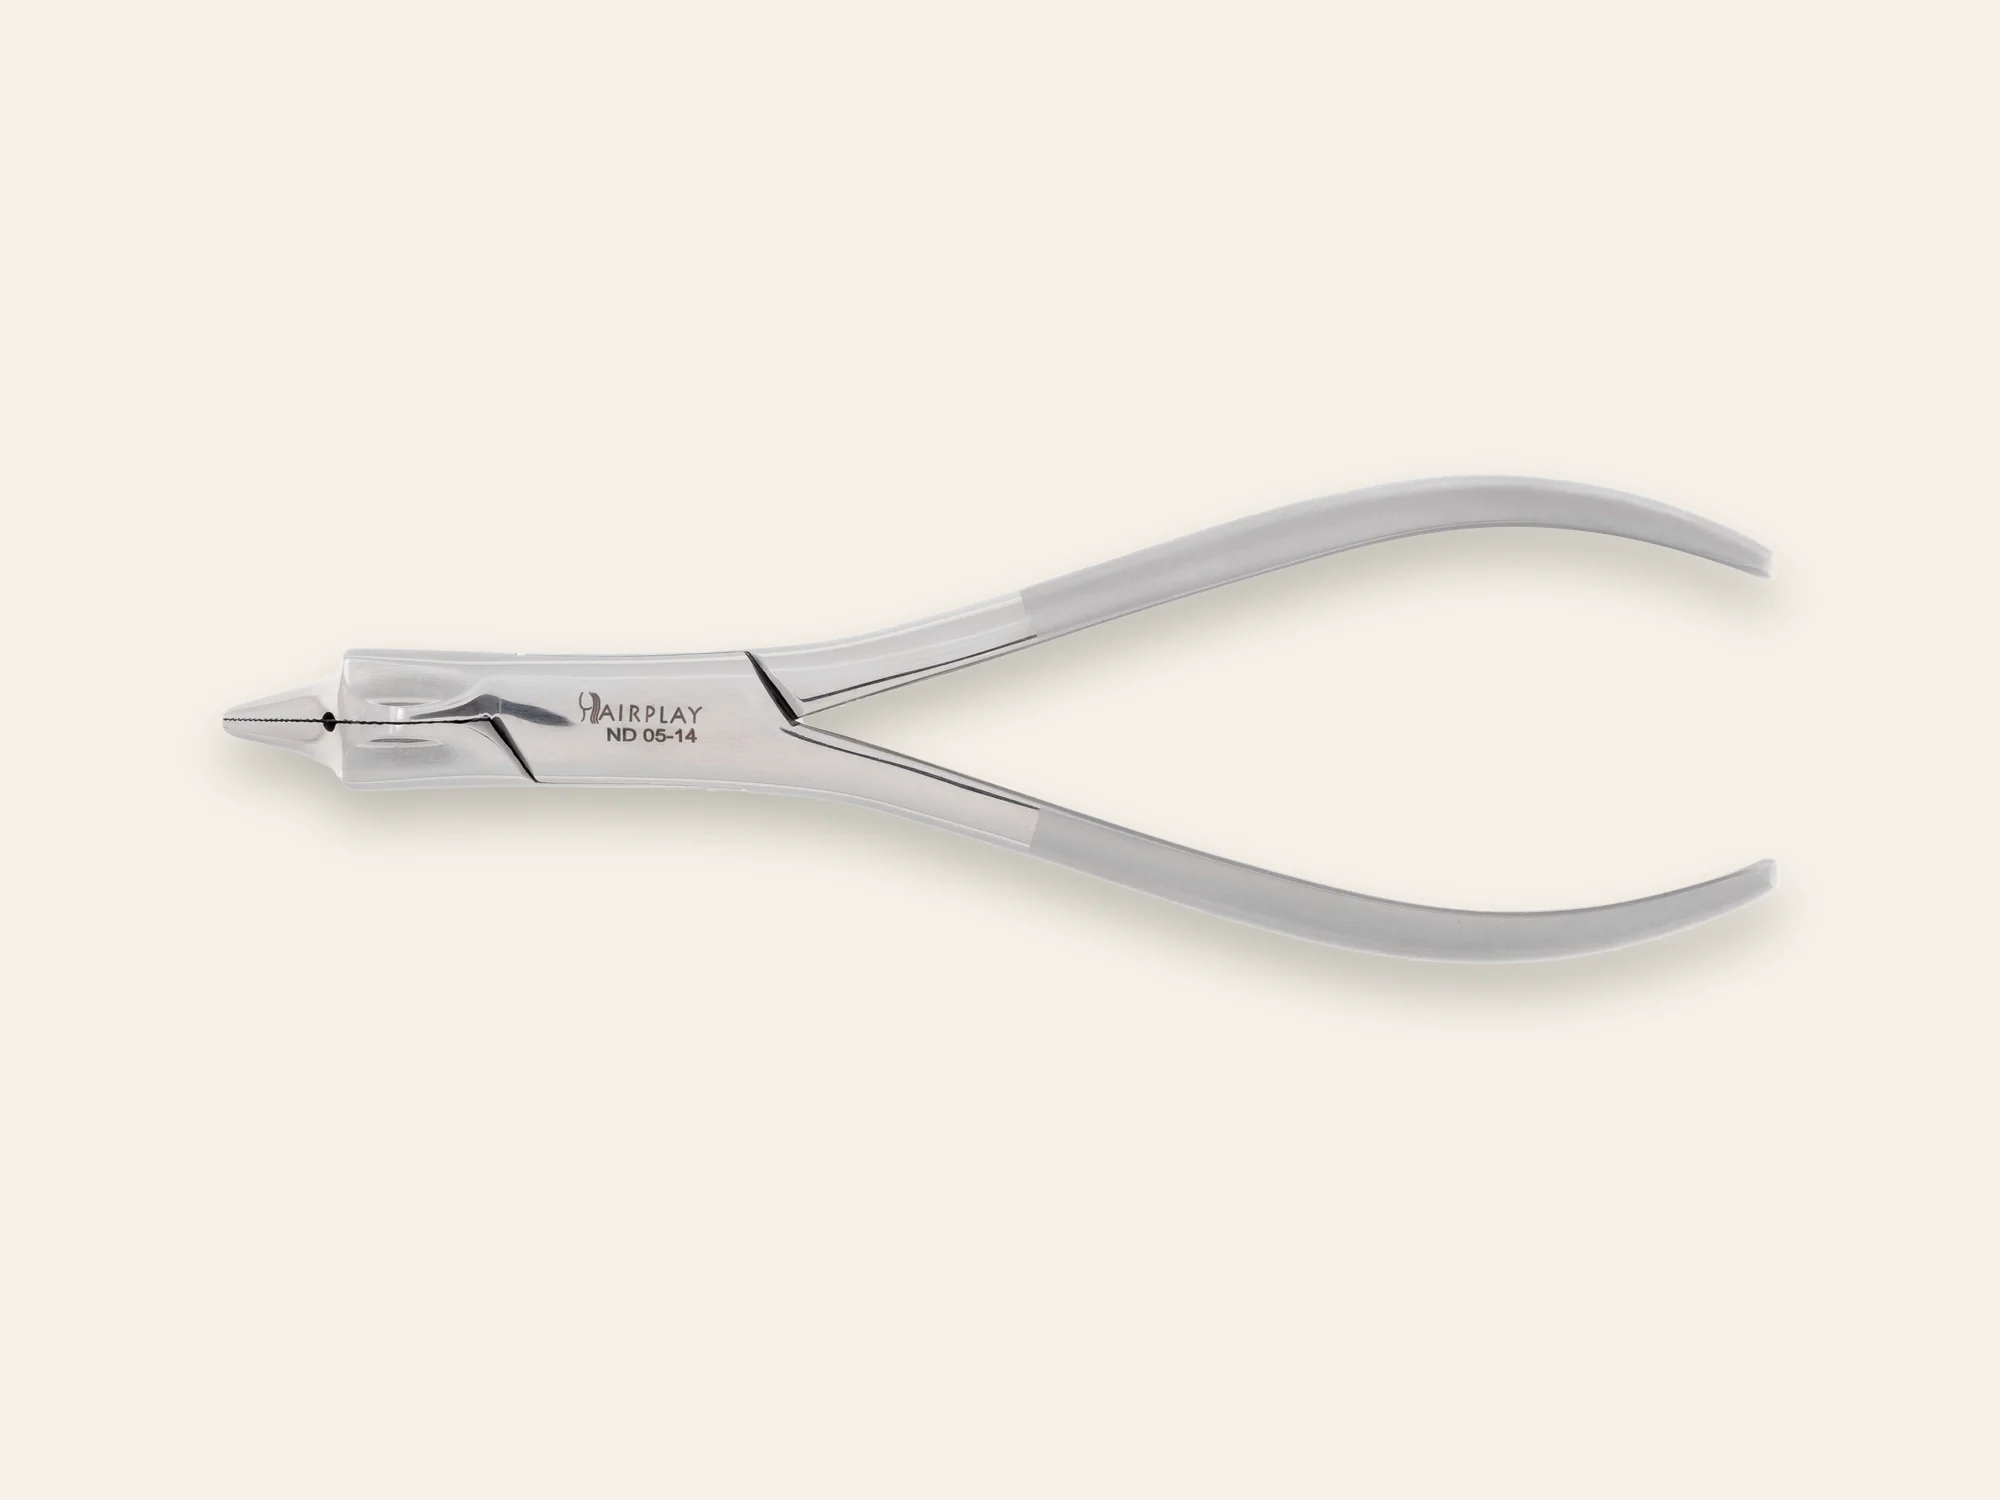
Ultrasound removes residue from joints and grooves considerably more thoroughly than manual brush cleaning — particularly important for nippers with precision joints such as the ND Onychoorthosis series and CP nail nippers.
Step 2: Disinfection
After cleaning, instrument disinfection follows as a chemical-physical precursor to sterilization:
- Immersion disinfection solution (e.g., aldehyde- or alcohol/quaternary ammonium salt-based, listed in the VAH compendium)
- Follow concentration and contact time exactly as per manufacturer’s instructions
- Instruments must be fully submerged — no air pockets in joints
After disinfection: rinse with sterile or distilled water, allow to dry — no tap water (lime and mineral residue promote corrosion in the joint).
Step 3: Packaging Before Autoclaving
Instruments must not be placed loosely in the autoclave — the sterile barrier must be maintained:
- Sterilization pouches with paper/film combination (Type II per EN ISO 11607)
- Seal the pouch, write the batch number and date on the outside
- No overloading: steam circulation must be ensured
For hinged instruments: package with the instrument open — otherwise steam cannot reach all surfaces.
Step 4: Autoclaving — Parameters and Programmes
For podiatric instruments in Germany:
| Parameter | Value |
|---|---|
| Temperature | 134 °C |
| Holding phase | ≥ 3 minutes (pre-vacuum autoclave) |
| Pressure | ~3 bar |
| Autoclave type | Pre-vacuum autoclave (Class B) — not gravity autoclave |
Why not a gravity autoclave (Class N)? Instruments with joints, cavities, and complex surface geometries (all nippers, burrs) are not reliably steam-penetrated by the gravity method. The pre-vacuum method actively evacuates air and ensures uniform steam penetration.
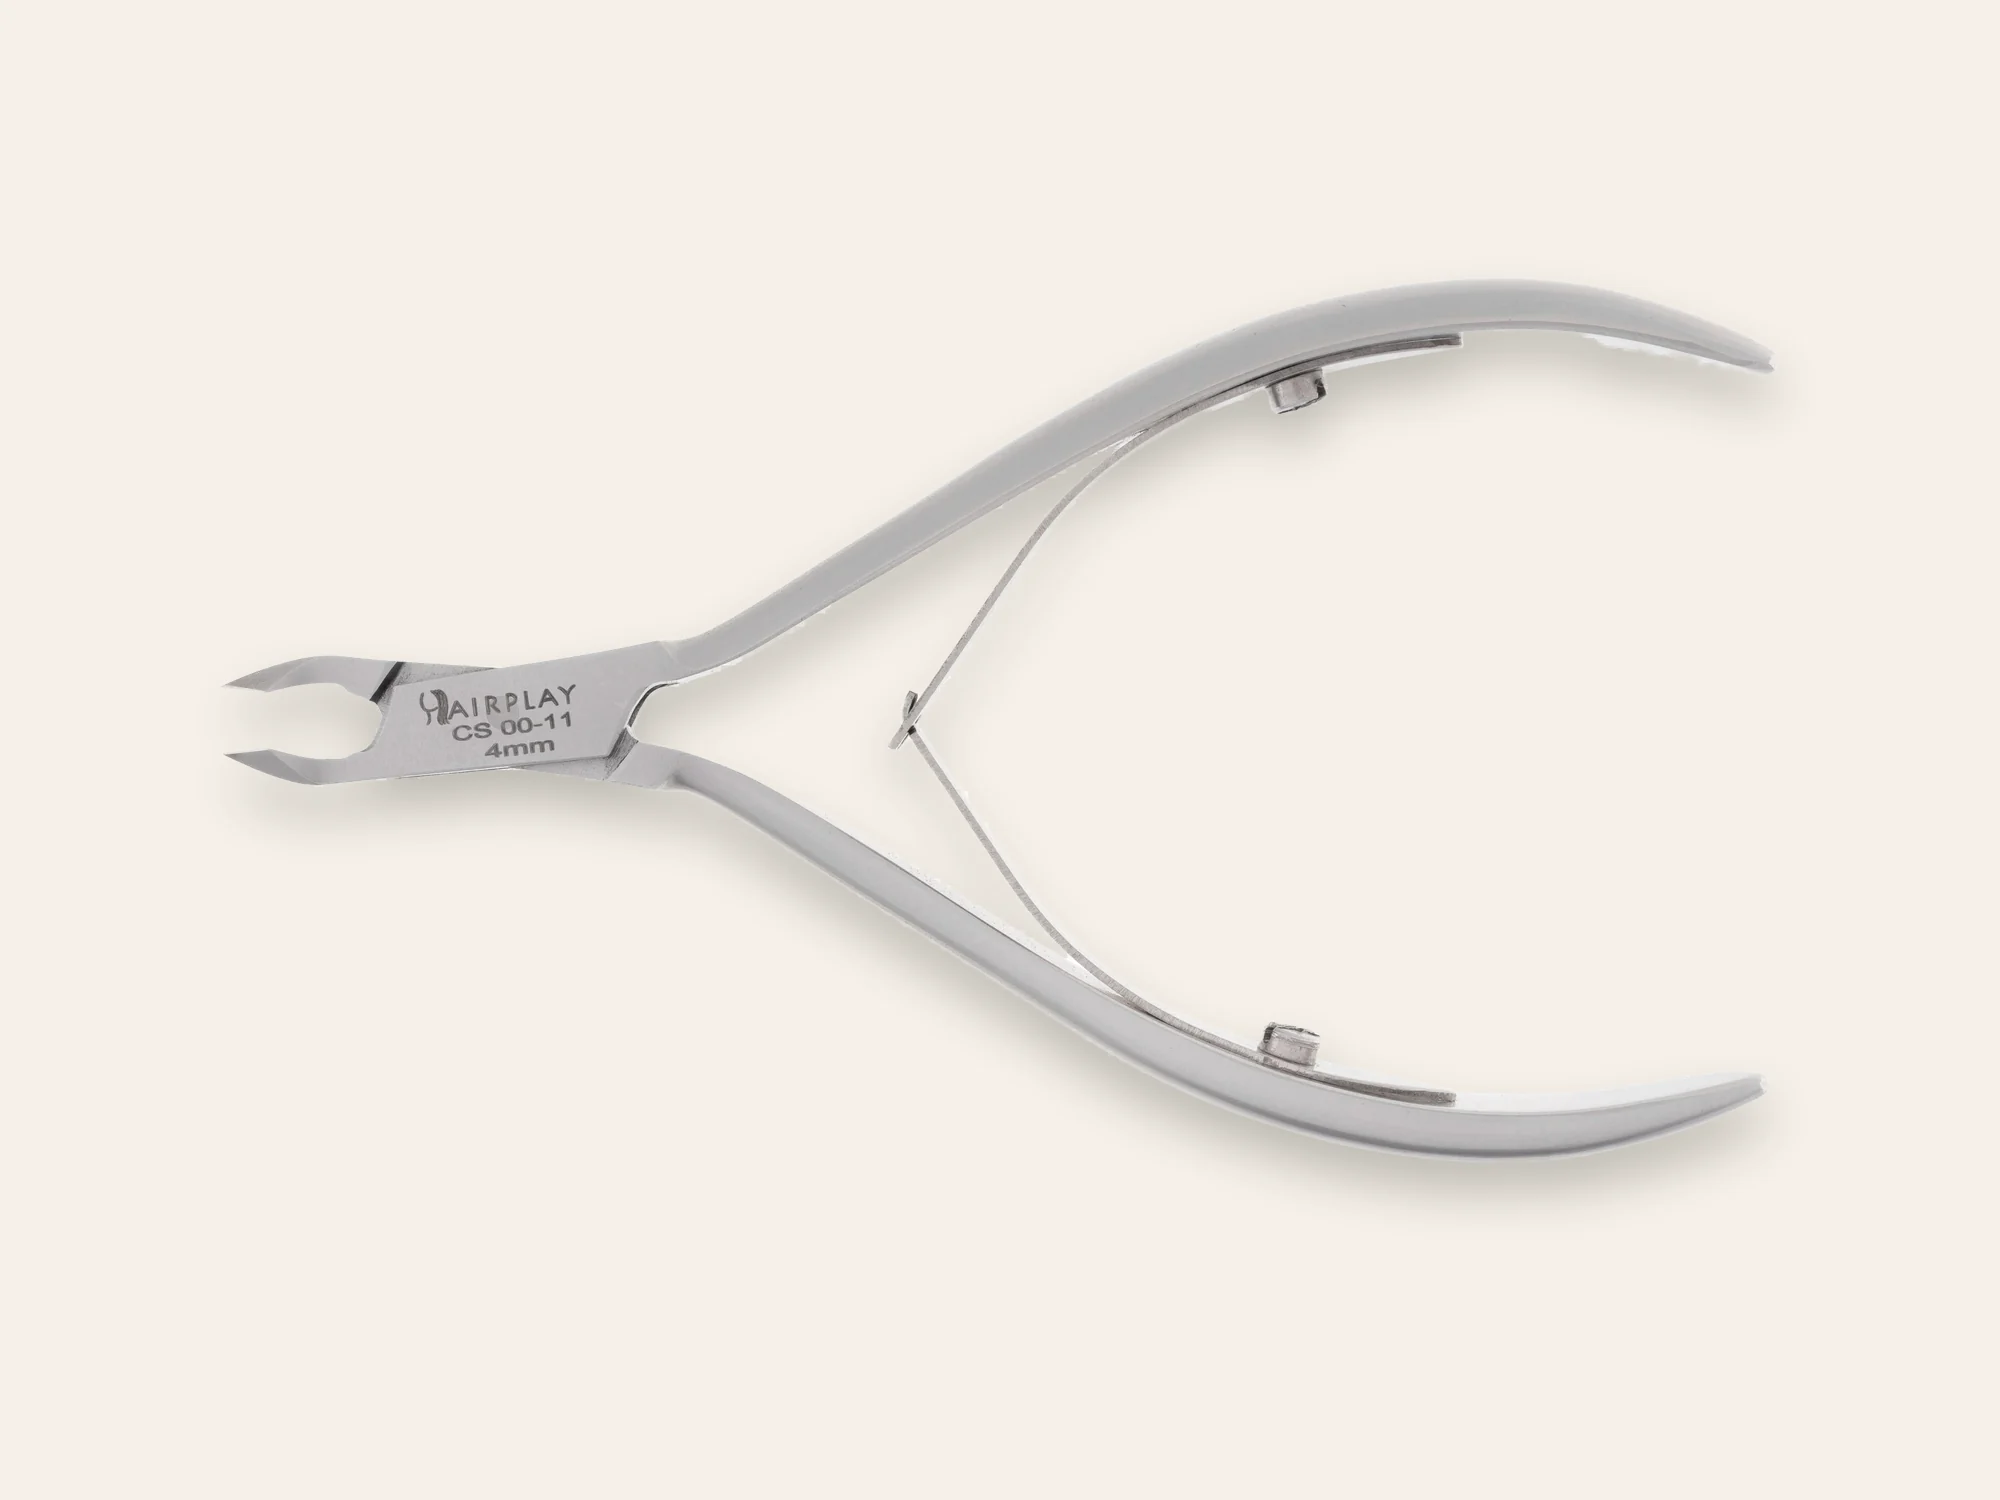
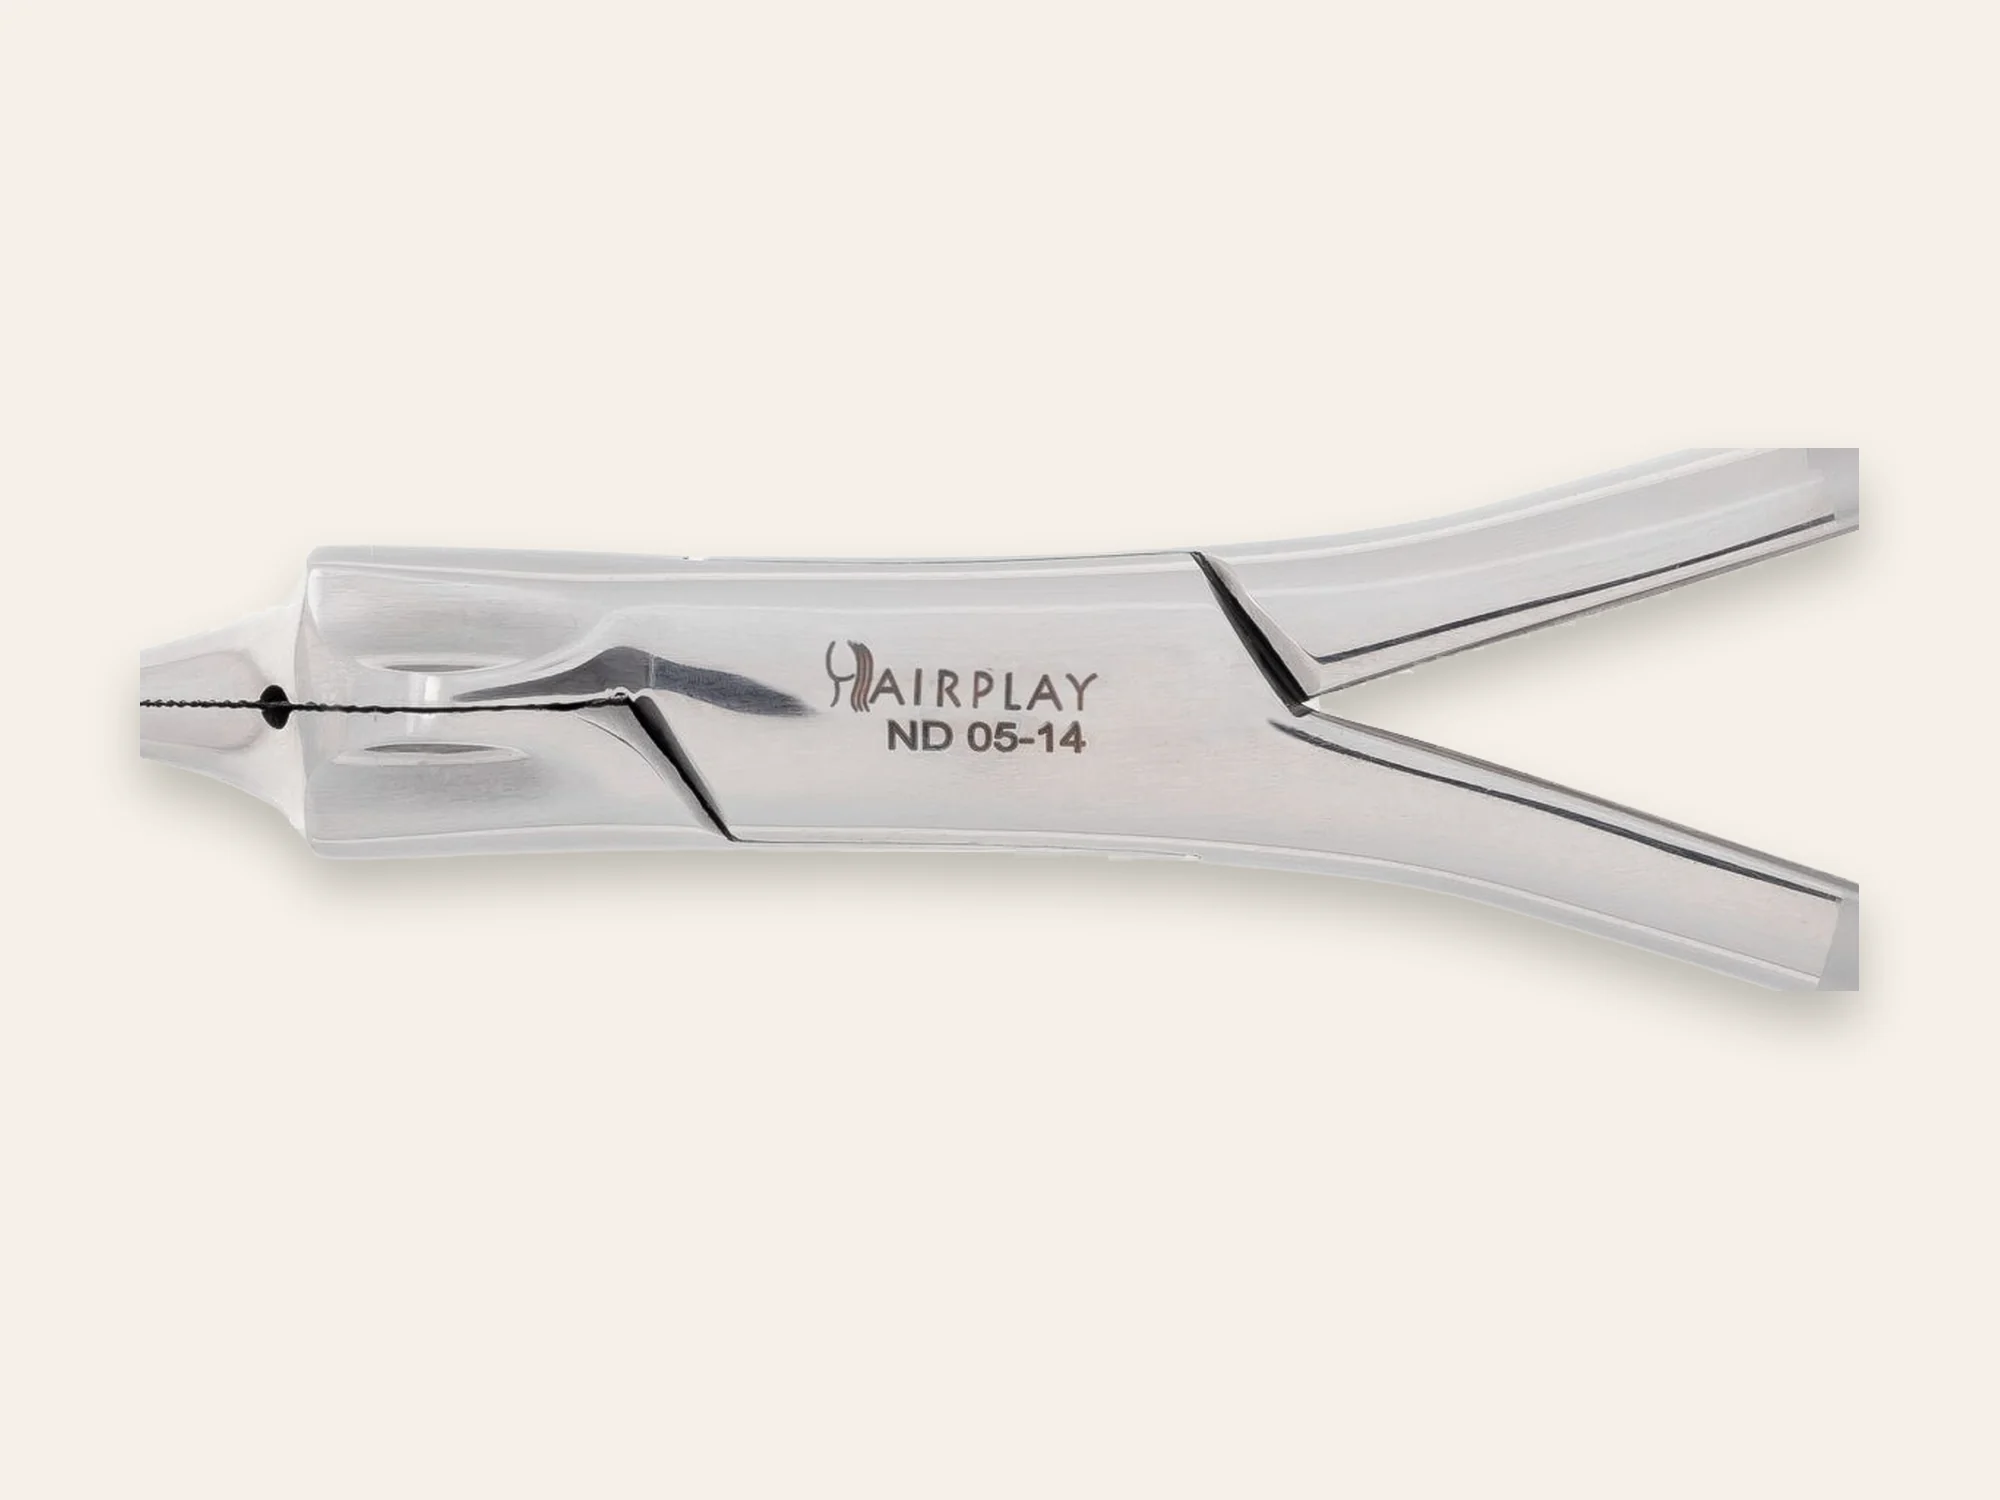
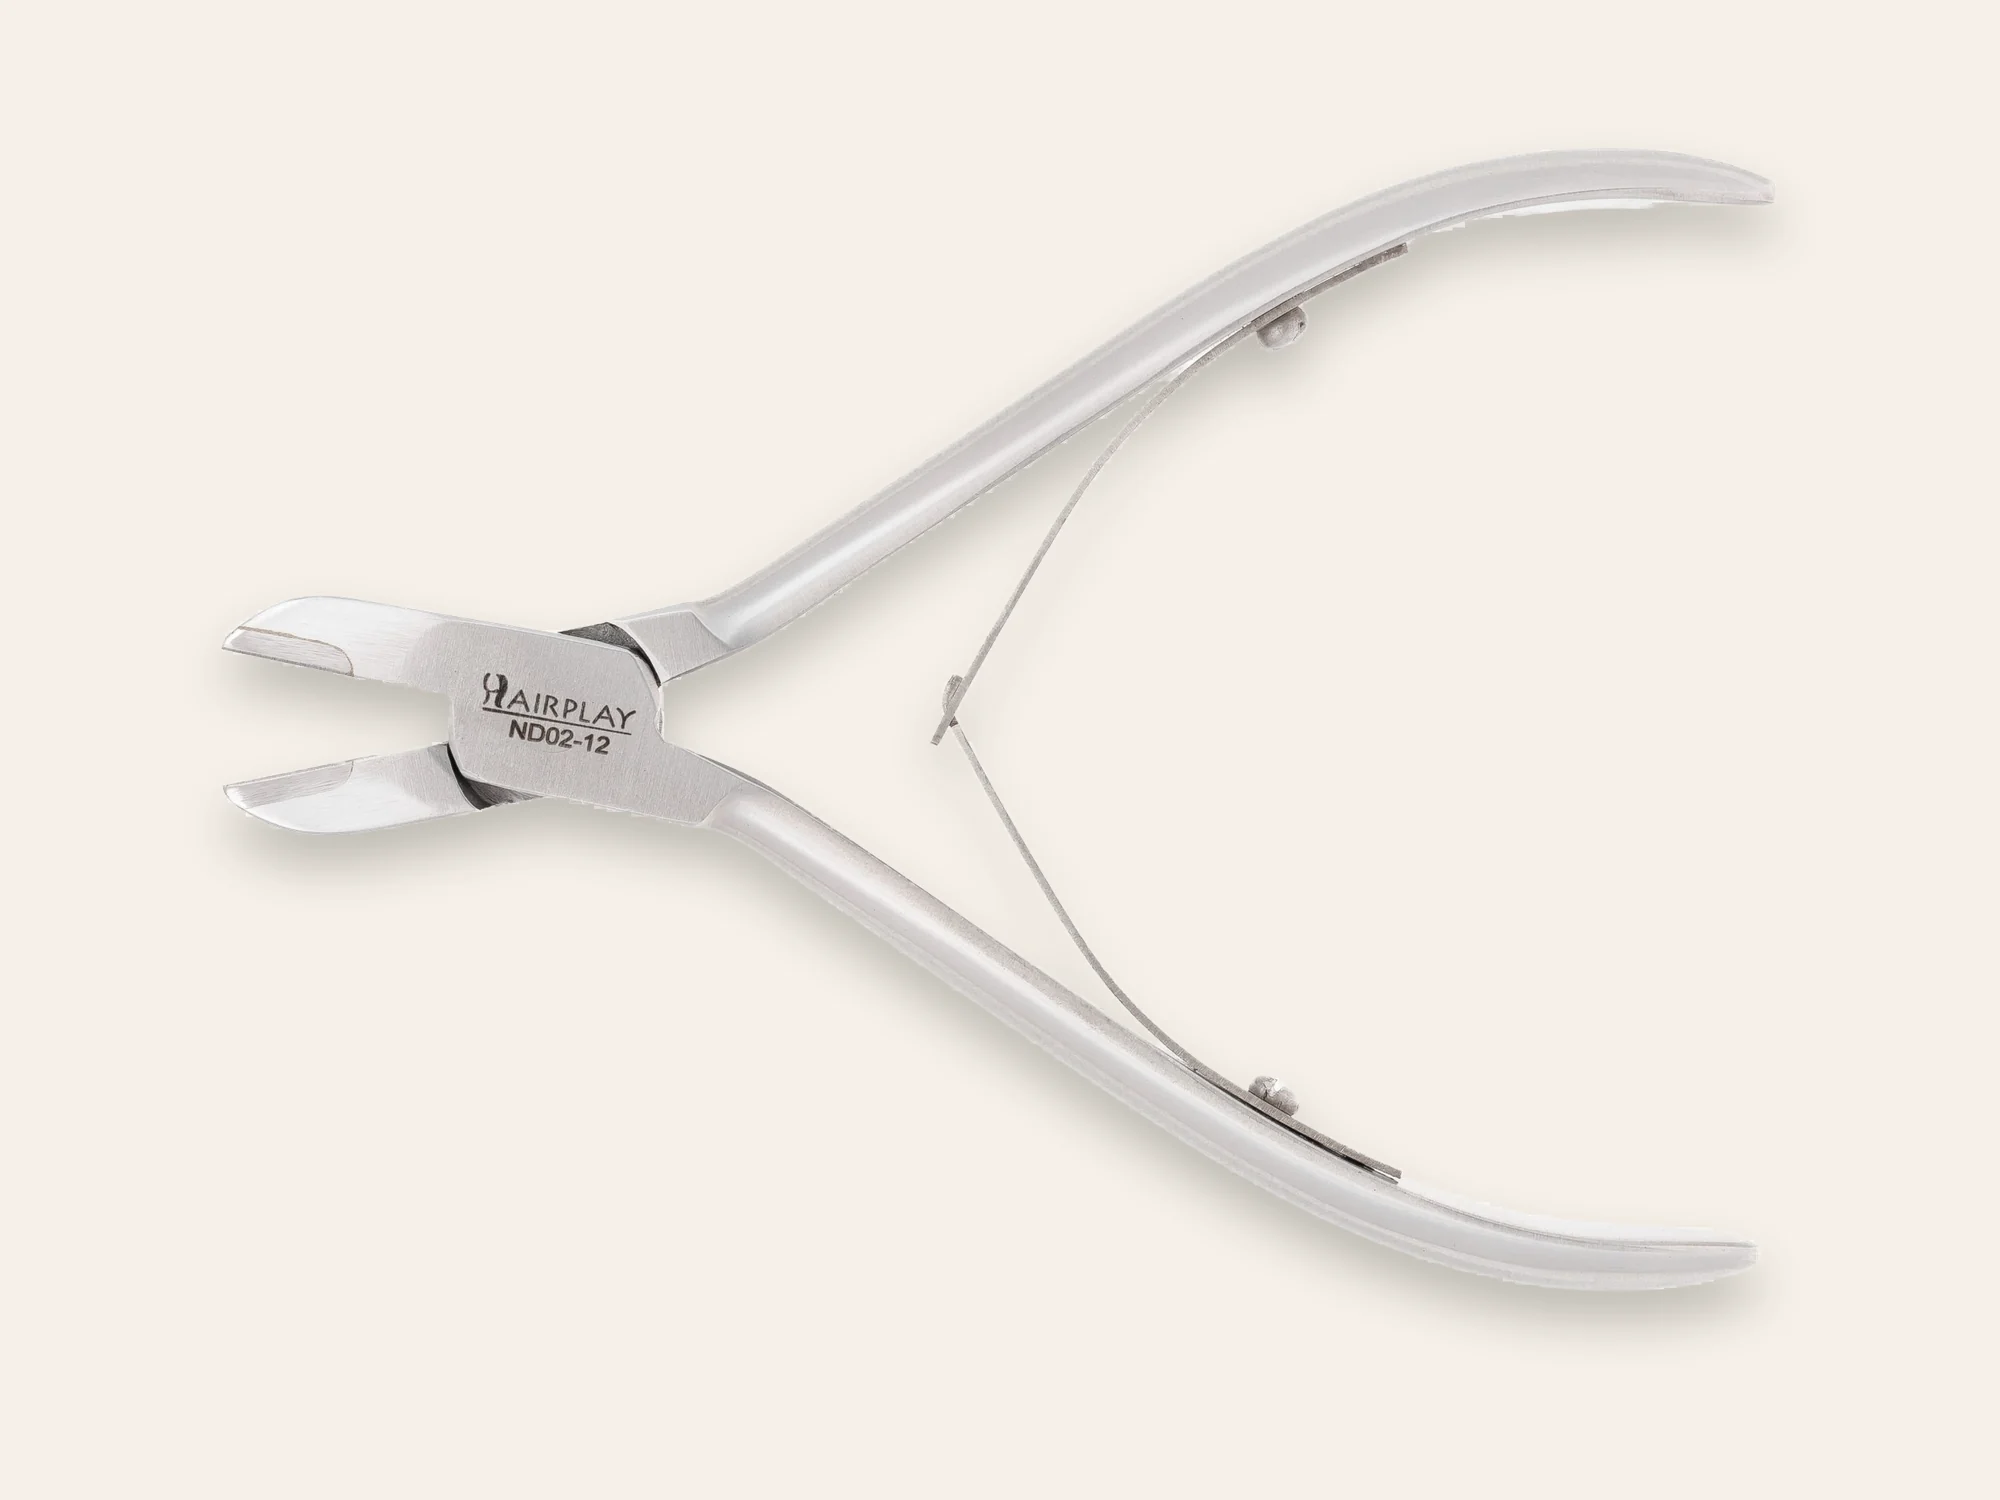
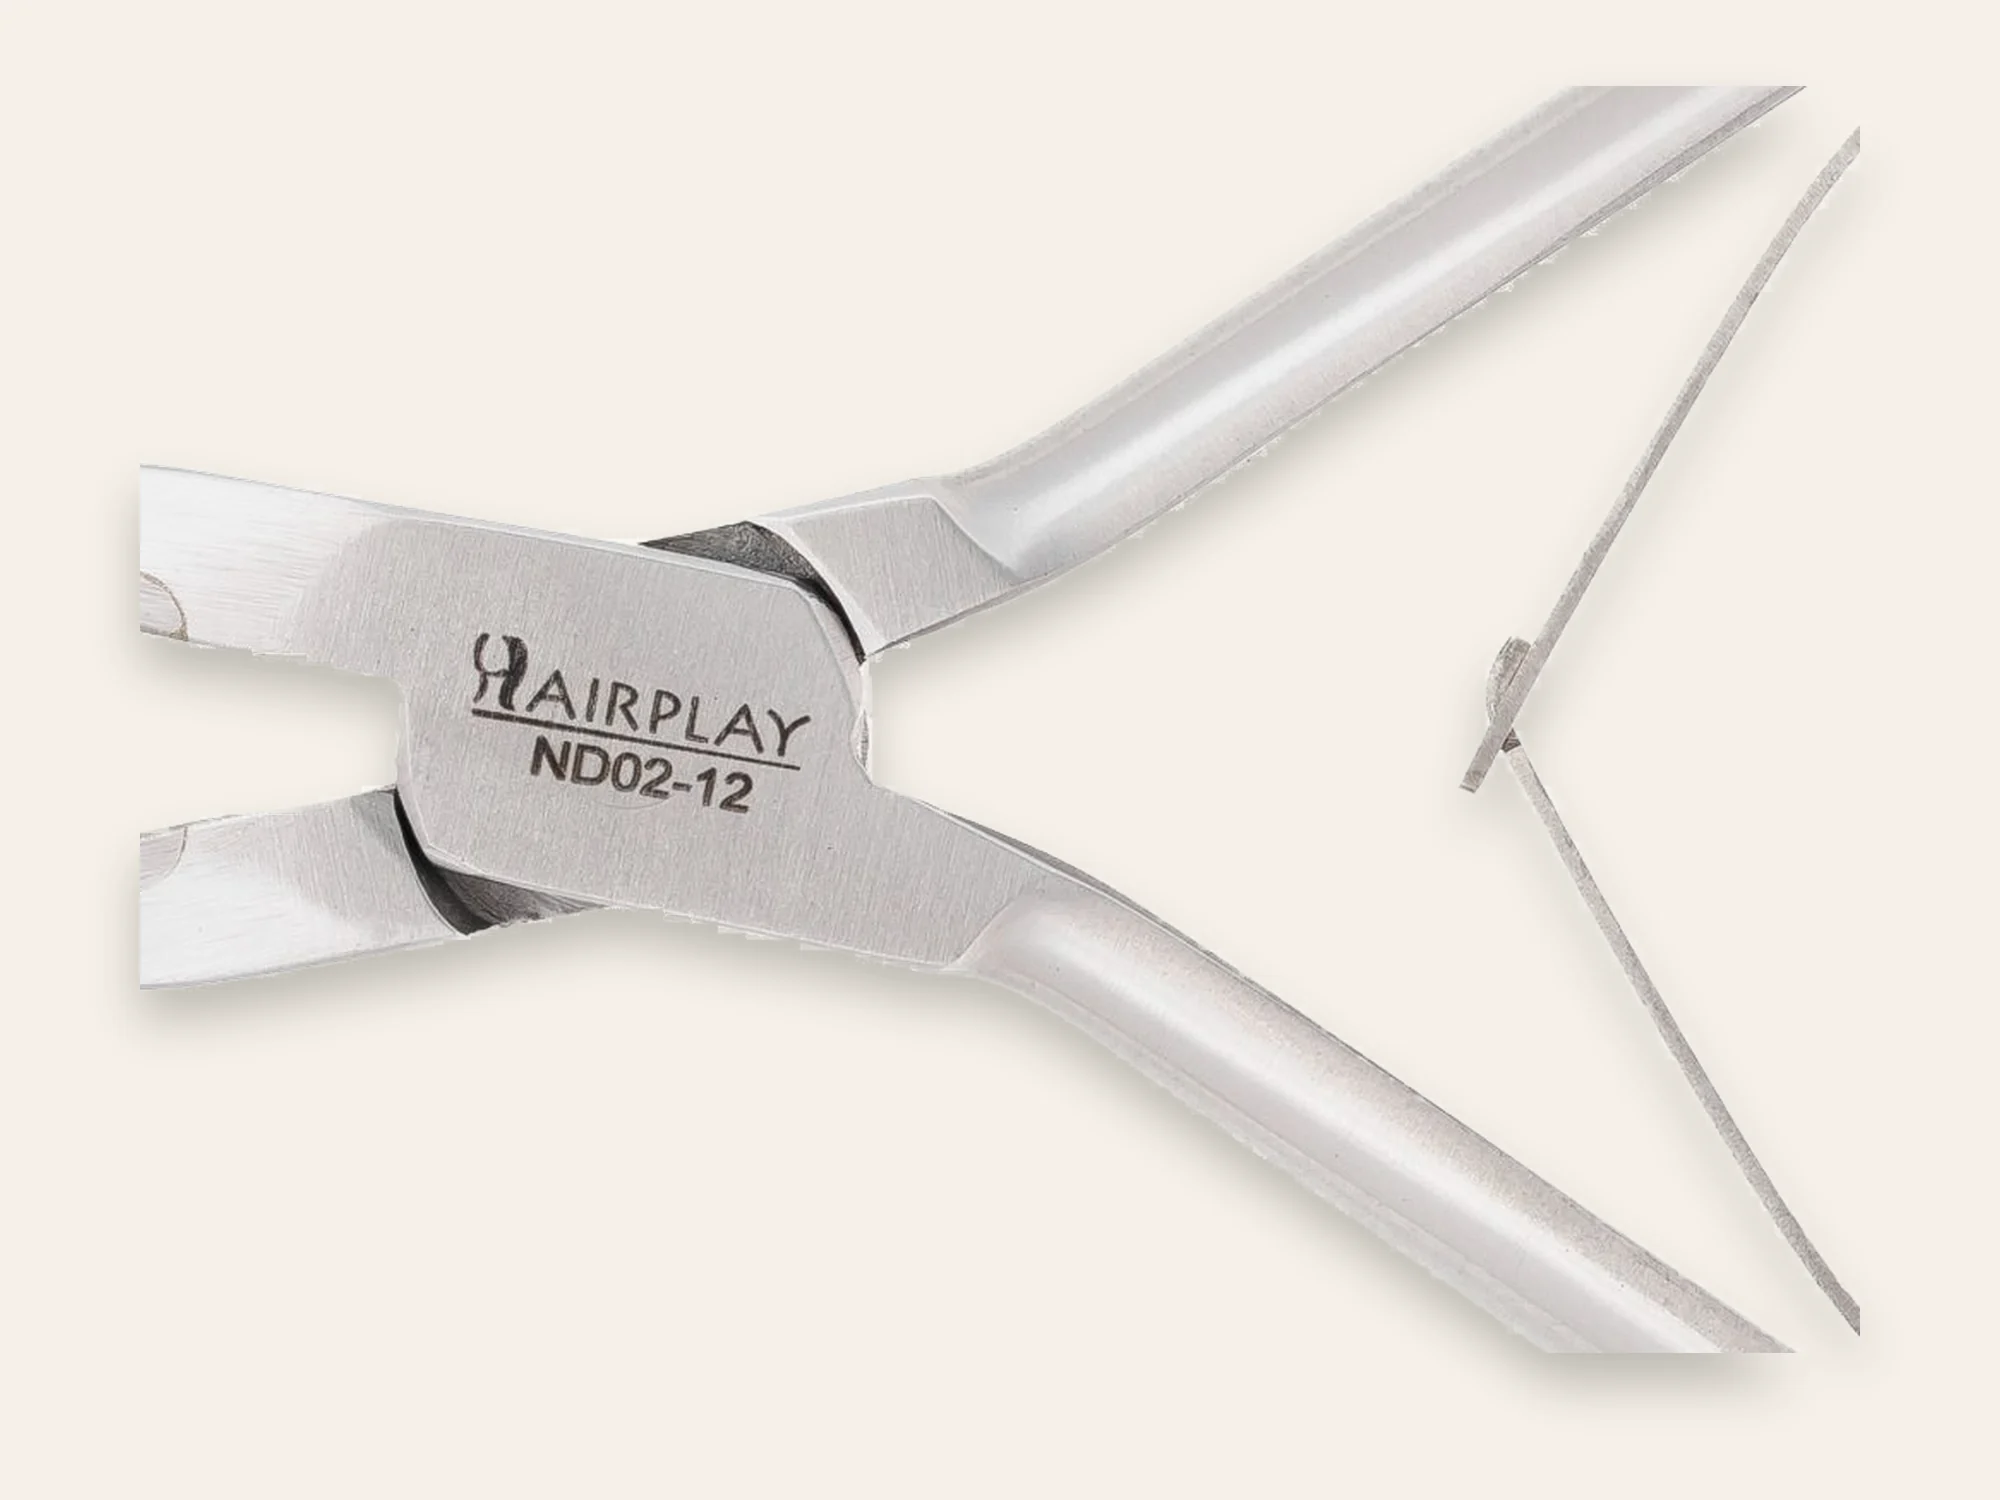
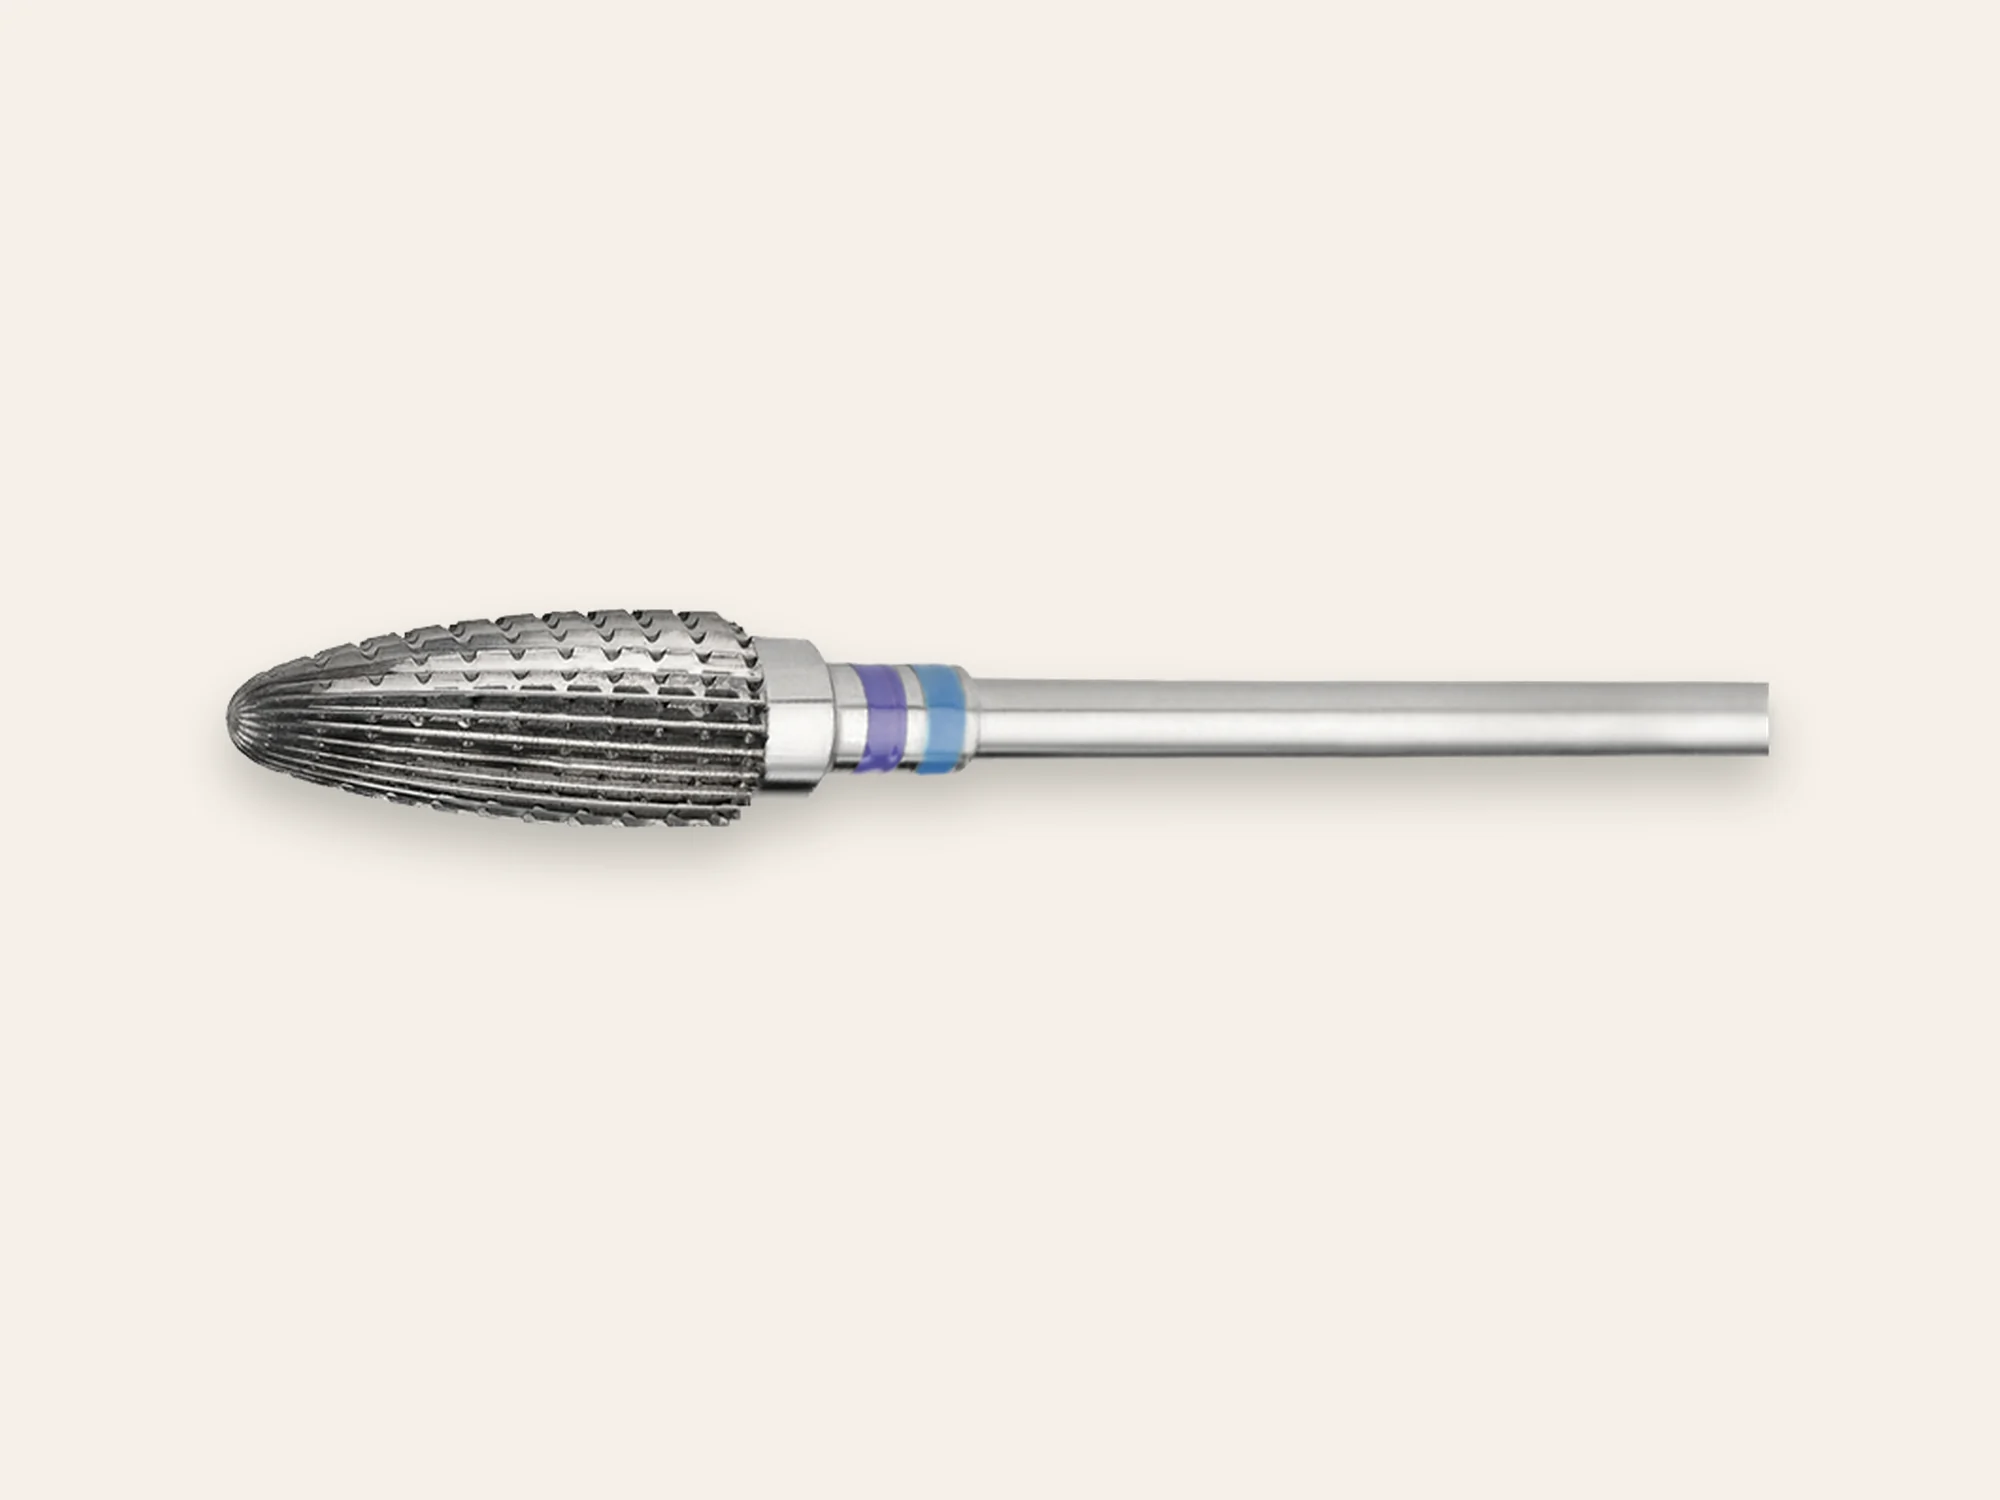
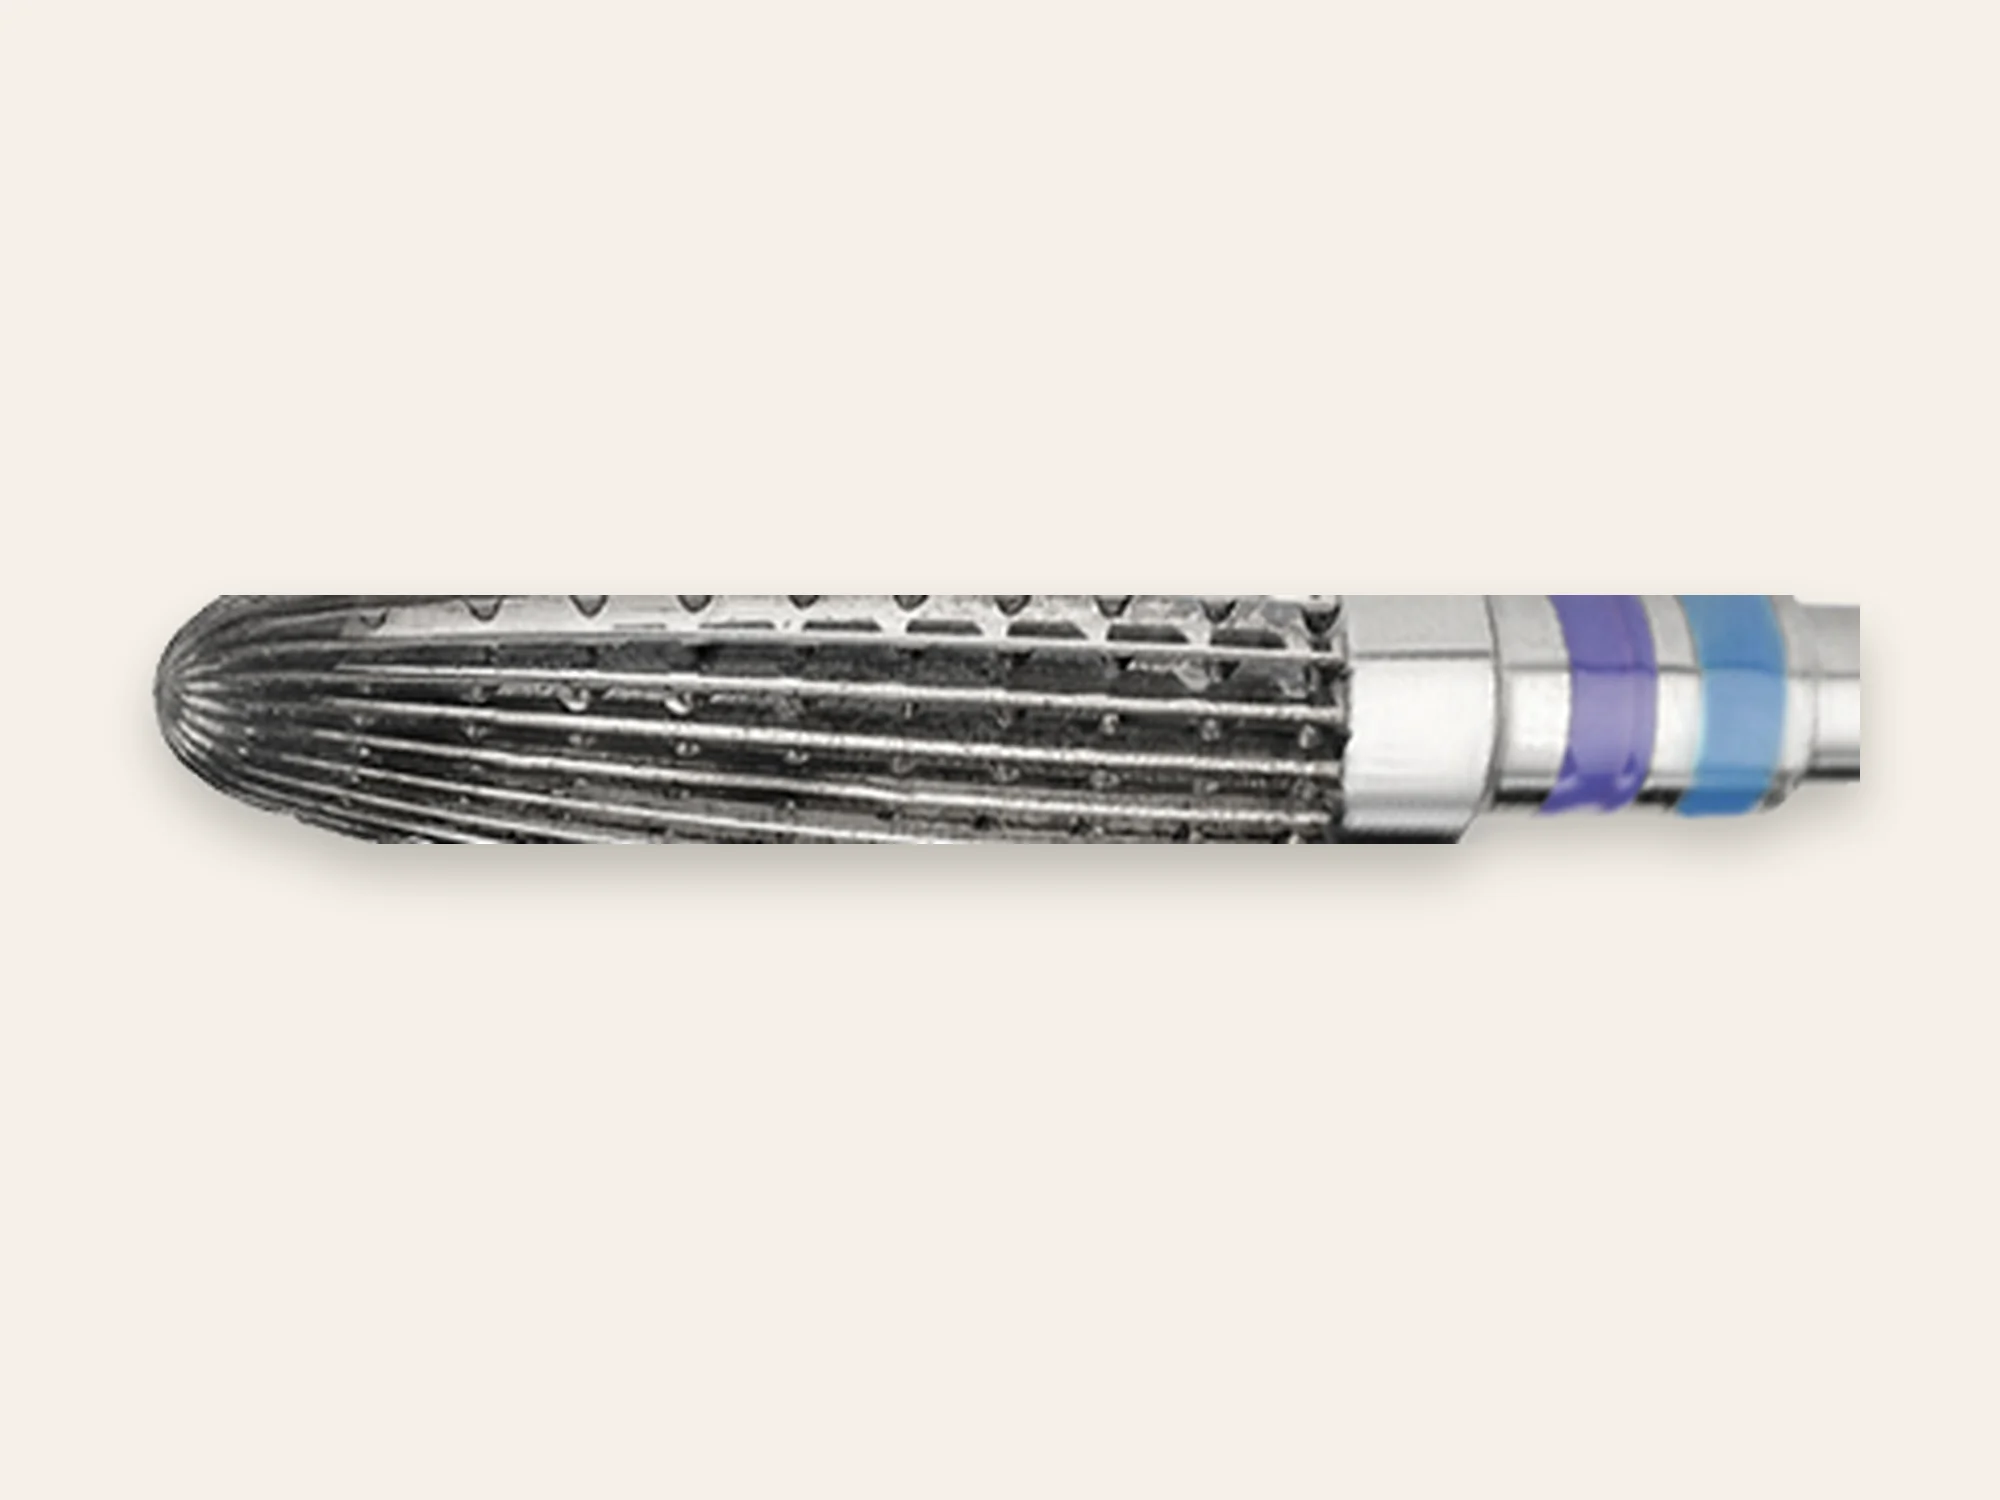
Carbide burrs — such as the FW 670 — are designed for 134 °C pre-vacuum autoclaving. The same applies to all surgical steel instruments in the CP nail nipper series, the Callus Nipper CS 00-10, and the Onychoorthosis Nippers ND 05-15 and ND 02-12.
Not autoclavable: Instruments with rubber handles, plastic components, adhesive-bonded assemblies, or gold-plated surfaces — always check manufacturer specifications.
Step 5: Storage and Documentation
After autoclaving:
- Allow pouches to dry completely (damp pouches = sterile barrier compromised)
- Store in a clean, dust-protected drawer, away from direct light
- Storage period: Per DIN EN 868 and manufacturer’s instructions — typically 6 months for sealed pouches under proper storage conditions
- Maintain batch records: date, autoclave unit number, batch number, parameter check (integrator strip). This documentation is mandatory and may be requested during a practice inspection.
Instrument Maintenance: Extending Service Life
Correctly maintained surgical steel instruments last 5–10 years or more in clinical use. Key measures:
After autoclaving:
- Oil the joints with instrument oil (specifically formulated for autoclave instruments, not regular oils) — one drop into the joint, then open and close once.
- Check for corrosion spots: small brown dots or pitting indicate crevice corrosion — replace the instrument, do not continue using it.
General:
- Never store surgical steel and carbon steel together (galvanic corrosion)
- No abrasive cleaning agents (steel wool, coarse abrasives)
- Do not stack instruments on top of each other (cutting edges damage each other)
Sharpness check:
- Nail nippers: paper cutting test — clean cut without burr formation
- Burrs: visual inspection of the cutting flutes, no broken or bent edges
- Onychoorthosis nippers: check joint play — no lateral play, consistent spring action
Documentation Requirements at a Glance
| Document | Content | Retention |
|---|---|---|
| Batch record | Date, time, programme, parameters, integrator result | ≥ 5 years |
| Autoclave logbook | Maintenance, calibrations, faults | Ongoing |
| Technical documentation for instruments | Manufacturer information, autoclavability | While in use |
| Validation record | Initial validation + annual repeat | Ongoing |